Table of Contents
[Mobile] Adding and Removing Inventory
Adding Inventory
Any user with edit permissions that is not in "Read-Only" mode can add Inventory.
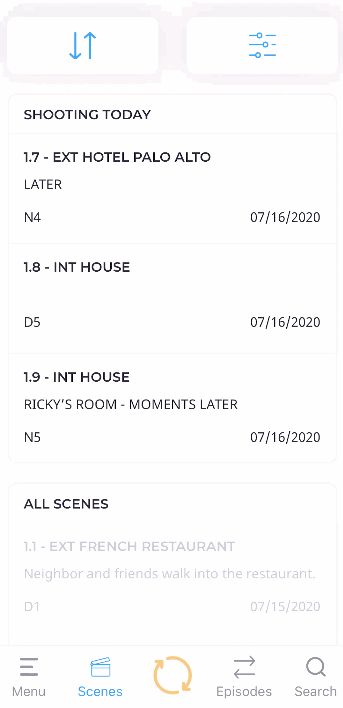
Tap Home on the bottom navigation bar to go to the Home page and access the Inventory Index. You will find your Inventory listed by Unassigned Inventory and each individual Character or Set.
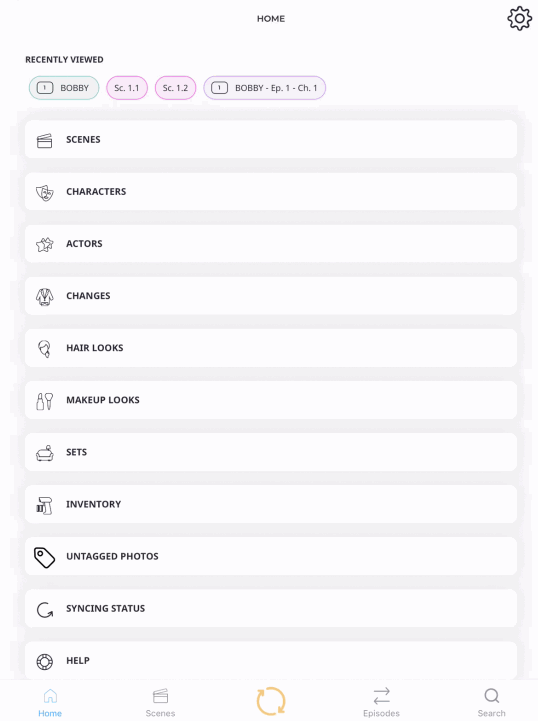
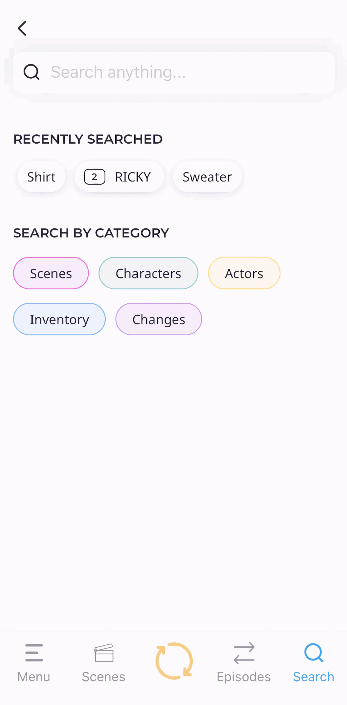
You can also find a full list of your Inventory by tapping Search on the bottom navigation bar to access Universal Search. From here, select Inventory under Search by Category.
Costume items, Props, and Set Pieces can be added through the mobile app. Tap the (+) on the top right of the Inventory Index to create new Inventory items.
To delete an existing Inventory item, swipe right to left on the item on the Inventory Index. Then tap the Trash Can icon that appears and tap Delete to confirm.
Inventory is department-specific and cannot be reassigned to another department.
Each department has additional locations on the mobile app where Inventory can be added. See more department-specific tips below.
- Related Articles: [Mobile] Universal Search, [Mobile] Managing Inventory
Costume
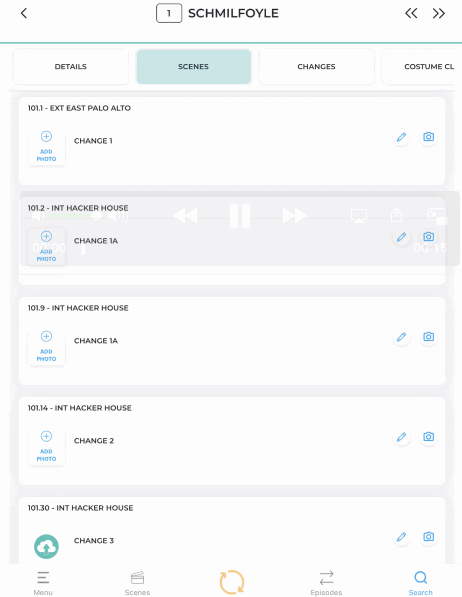
In addition to the Inventory Index, Inventory can be added from either the Character View page or the Change View page. Quickly access either page by tapping Search on the bottom navigation bar or using the Character Index or Change Index. You can also tap on a Character or Change from anywhere on the app to access their View pages.
Adding New Items by Character
From a Character View page:
- Tap Costume Closet in the top navigation bar.
- Tap (+) Add New Item.
- Enter the Item name (other fields can be added at any time).
- Tap Save.
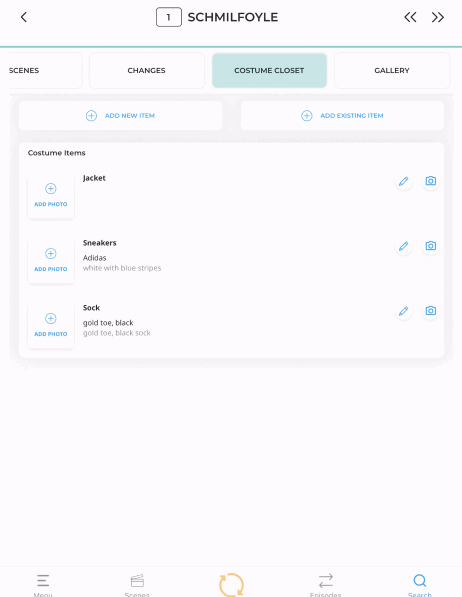
Adding Existing Items by Character
From a Character View page:
- Tap Costume Closet in the top navigation bar.
- Tap (+) Add Existing Item.
- Tap as many Items as you wish to add to the Character Closet.
- Tap Confirm.
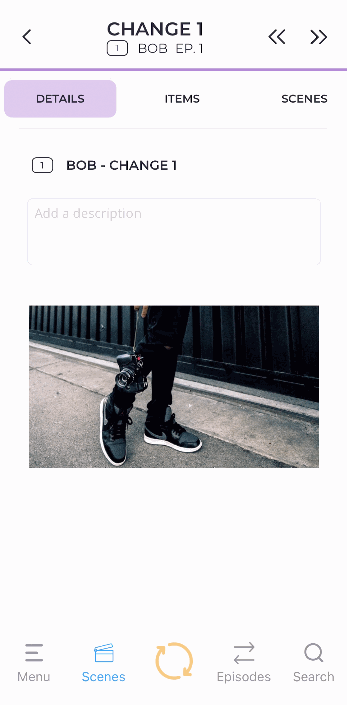
Adding New Items by Change
From a Change View page:
- Tap Items in the top navigation bar.
- Tap (+) Add New Item.
- Enter the Item name (other fields can be added at any time).
- Tap Save.
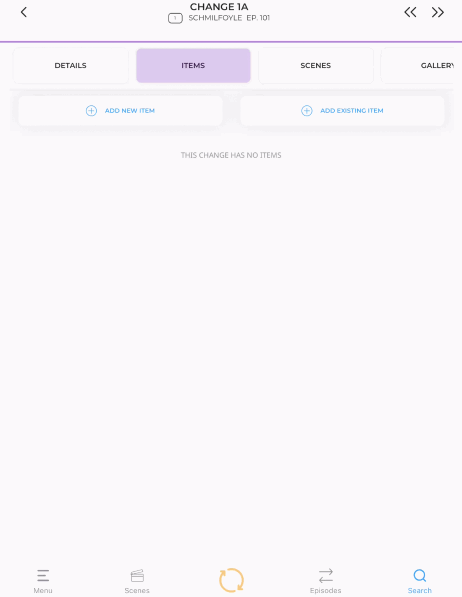
Remember you can also add existing Items to a Change. Once you create a piece of Inventory, you do not have to create it again! 🙌
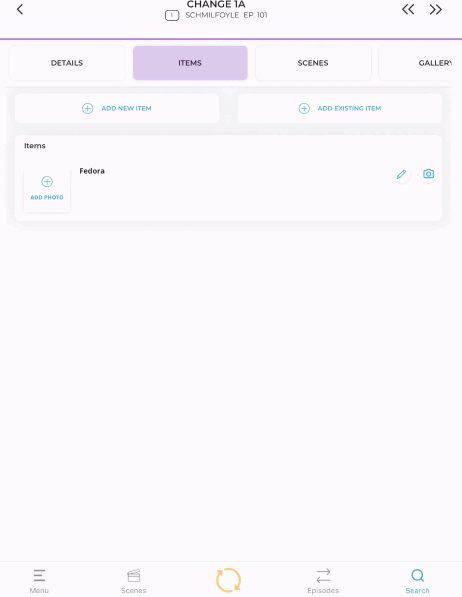
Adding Existing Items by Change
From a Change View page:
- Tap Items in the top navigation bar.
- Tap (+) Add Existing Item.
- Tap as many Items as you wish to add to the Change.
- Tap Confirm.
Props
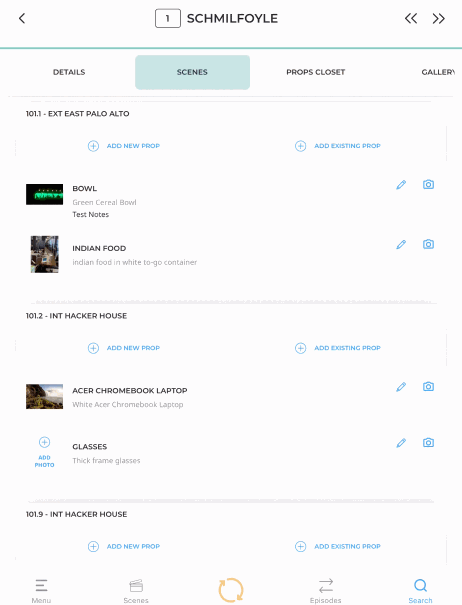
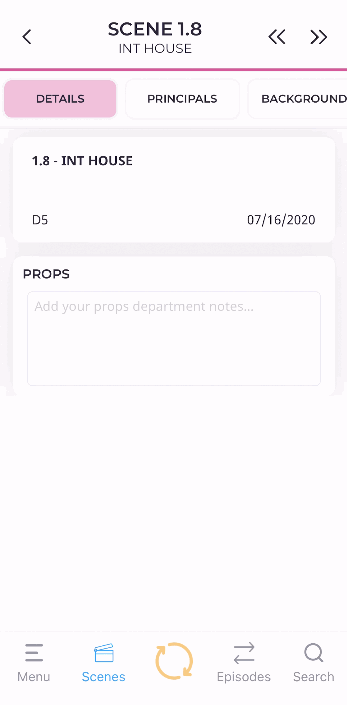
In addition to the Inventory Index, Props can be added on the Scene View or Character View pages. Search for a Scene or Character using Universal Search. You can also select a Scene from the Scene Index or tap on a specific Scene or Character from anywhere in the app.
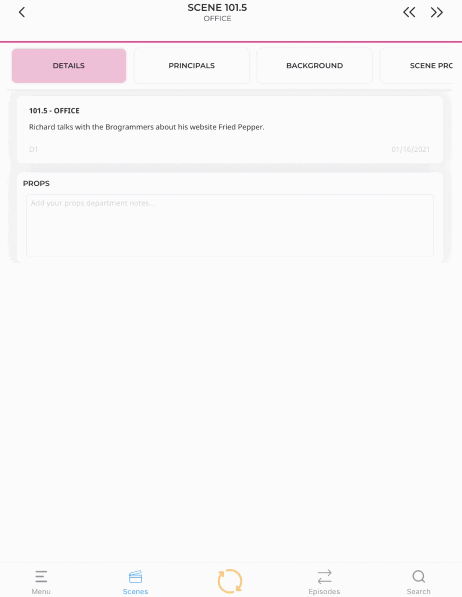
Adding Props by Scene
On a Scene View page, Props can be added two different ways depending on whether or not the Prop is being used by a Character in the Scene.
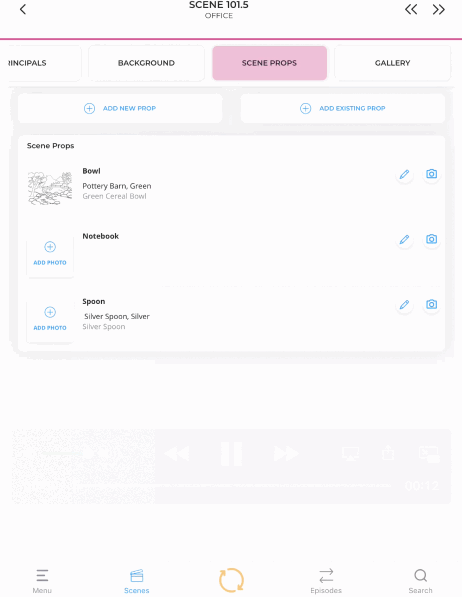
To add new Props that are not being used by a Character
- Navigate to a Scene View page.
- Tap Scene Props in the top navigation bar.
- Tap (+) Add New Prop.
- Create a new Prop by entering the Prop name (other fields can be added at any time).
- Tap Save.
To add existing Props that are not being used by a Character
- Navigate to a Scene View page.
- Tap Scene Props in the top navigation bar.
- Tap (+) Add Existing Prop to add existing Props.
- Select as many Props from the list as you'd like.
- Tap Confirm.
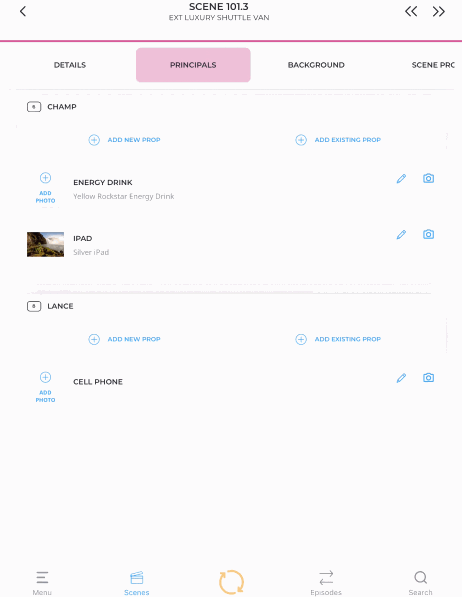
To add new Props that are being used by a Character
- Navigate to a Scene View page.
- Tap either Principals or Background in the top navigation bar.
- Tap (+) Add New Prop.
- Create a new Prop by entering the Prop name (other fields can be added at any time).
- Tap Save.
To add existing Props that are being used by a Character
- Navigate to a Scene View page.
- Tap either Principals or Background in the top navigation bar.
- Tap (+) Add Existing Prop to add existing Props.
- Select as many Props from the list as you'd like.
- Tap Confirm.
Adding Props by Character
On a Character View page, Props can either be added to a Character’s Closet or directly to a Scene.
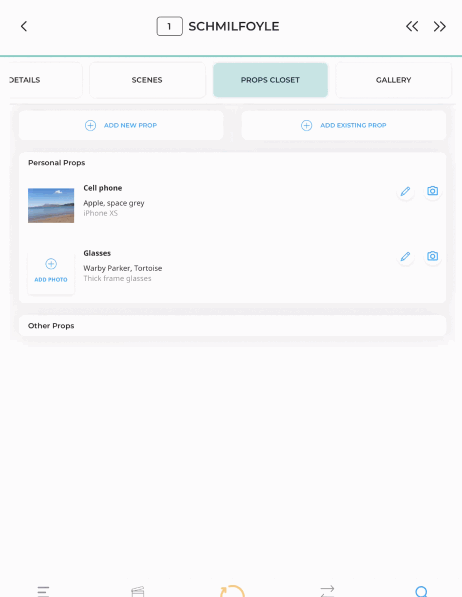
To add new Character Props to the Closet
- Tap Props Closet in the top navigation bar.
- Tap (+) Add New Prop .
- Create a new Prop by entering the Prop name (other fields can be added at any time).
- Tap Save.
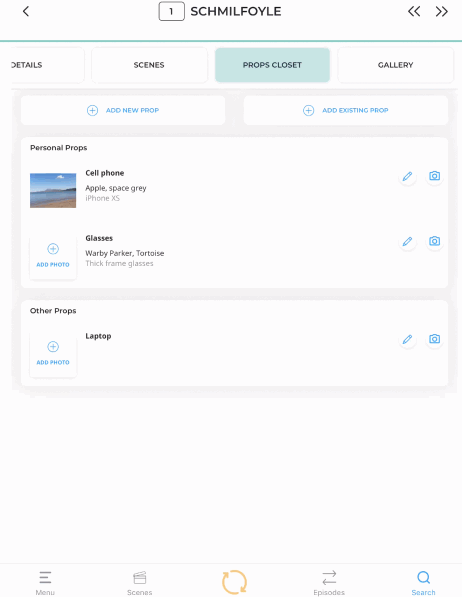
To add existing Character Props to the Closet
- Tap Props Closet in the top navigation bar.
- Tap (+) Add Existing Prop.
- Select as many Props from the list as you'd like.
- Tap Confirm.
To add new Props to a Scene
- Tap Scenes in the top navigation bar.
- Tap (+) Add New Prop within the Scene card.
- Create a new Prop by entering the Prop name (other fields can be added at any time).
- Tap Save.
To add existing Props to a Scene
- Tap Scenes in the top navigation bar.
- Tap (+) Add Existing Prop within the Scene card.
- Select as many Props from the list as you'd like.
- Tap Confirm.
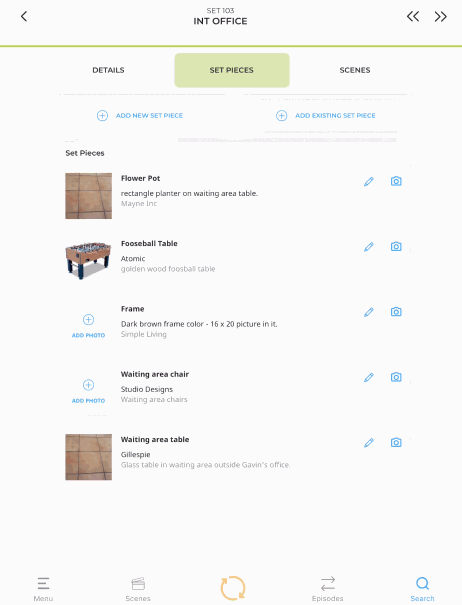
Set Dec
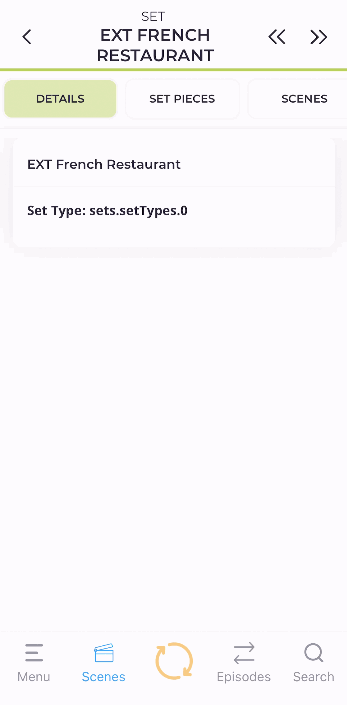
In addition to the Inventory Index, Set Pieces can be added from the Set View page. Search for a Set using Universal Search or the Set Index on the Home page. Alternatively, in a Scene View, tap Sets on the top navigation bar, then tap the Set to access the Set View page.
Adding New Set Pieces by Set
From a Set View page:
- Tap Set Pieces in the top navigation bar.
- Tap (+) Add New Set Piece.
- Create a new Set Piece by entering the Set Piece name (other details can be added later).
- Tap Save.
Adding Existing Set Pieces by Set
From a Set View page:
- Tap Set Pieces in the top navigation bar.
- Tap (+) Add Existing Set Piece.
- Select as many Set Pieces from the list as you wish.
- Tap Confirm.
Adding Photos to Inventory
The fastest way to add an Inventory photo is on the Inventory View page. Quickly access the Inventory View page by tapping into it on the Inventory Index or by typing the piece of Inventory’s name into Universal Search and selecting it from the search results.
From the Inventory View:
- Tap (+) Add Photo.
- Either take a photo using your device, choose a recent photo from your camera roll, or tap the Gallery icon to select photos from your full camera roll.
- Add Tags.
- Tap Save.
Removing Inventory
Inventory can be removed from Scenes (Props), Changes (Costumes), and Sets (Set Pieces) without being deleted from the production.
To remove an item from a Change View page:
- Tap Items in the top navigation bar.
- Tap the Item you want to remove from the Change.
- Tap Remove Item From Change.
- Tap Remove again to confirm your action.
To remove a Prop from a Scene View page:
- Tap Principals, Background, or Scene Props in the top navigation bar.
- Tap the Prop you want to remove from the Scene.
- Tap Remove From Scene.
- Tap Remove again to confirm your action.
To remove a Set Piece from a Set View page:
- Tap Set Pieces in the top navigation bar.
- Tap the Set Piece you want to remove from the Set.
- Tap Remove from Set.
- Tap Remove again to confirm your action.
- Related Article: [Mobile] Managing Inventory