Users with permissions to both SyncOnSet for a production and AssetHub for the same project can use this feature.
Warning:Your accounting team may have already uploaded a financial ledger of assets. Please contact your Account Manager prior to reconciling to verify that you are reconciling correctly.
Exporting from SyncOnSet to AssetHub is one-way and final. Once an item is exported, it cannot be exported again. As a result, please ensure that the items you are exporting have as much data entered as possible. Any changes made to items in SyncOnSet after they have been exported will not carry over to AssetHub.
Exporting from SyncOnSet to AssetHub
The following information transfers from SyncOnSet to AssetHub in order to ease the process of reconciling Transactions (fields may vary based on Studio):
In SyncOnSet, click Inventory in the top navigation menu.
Using the checkboxes in line with the Inventory on the left, checkmark the Inventory you'd like to move over to Asset Hub.
Click the horizontal Ellipsis> Export > To AssetHub.
Pro Tip: Use the Choose Columns button to surface theExported to AHfield to see which Inventory has been exported.
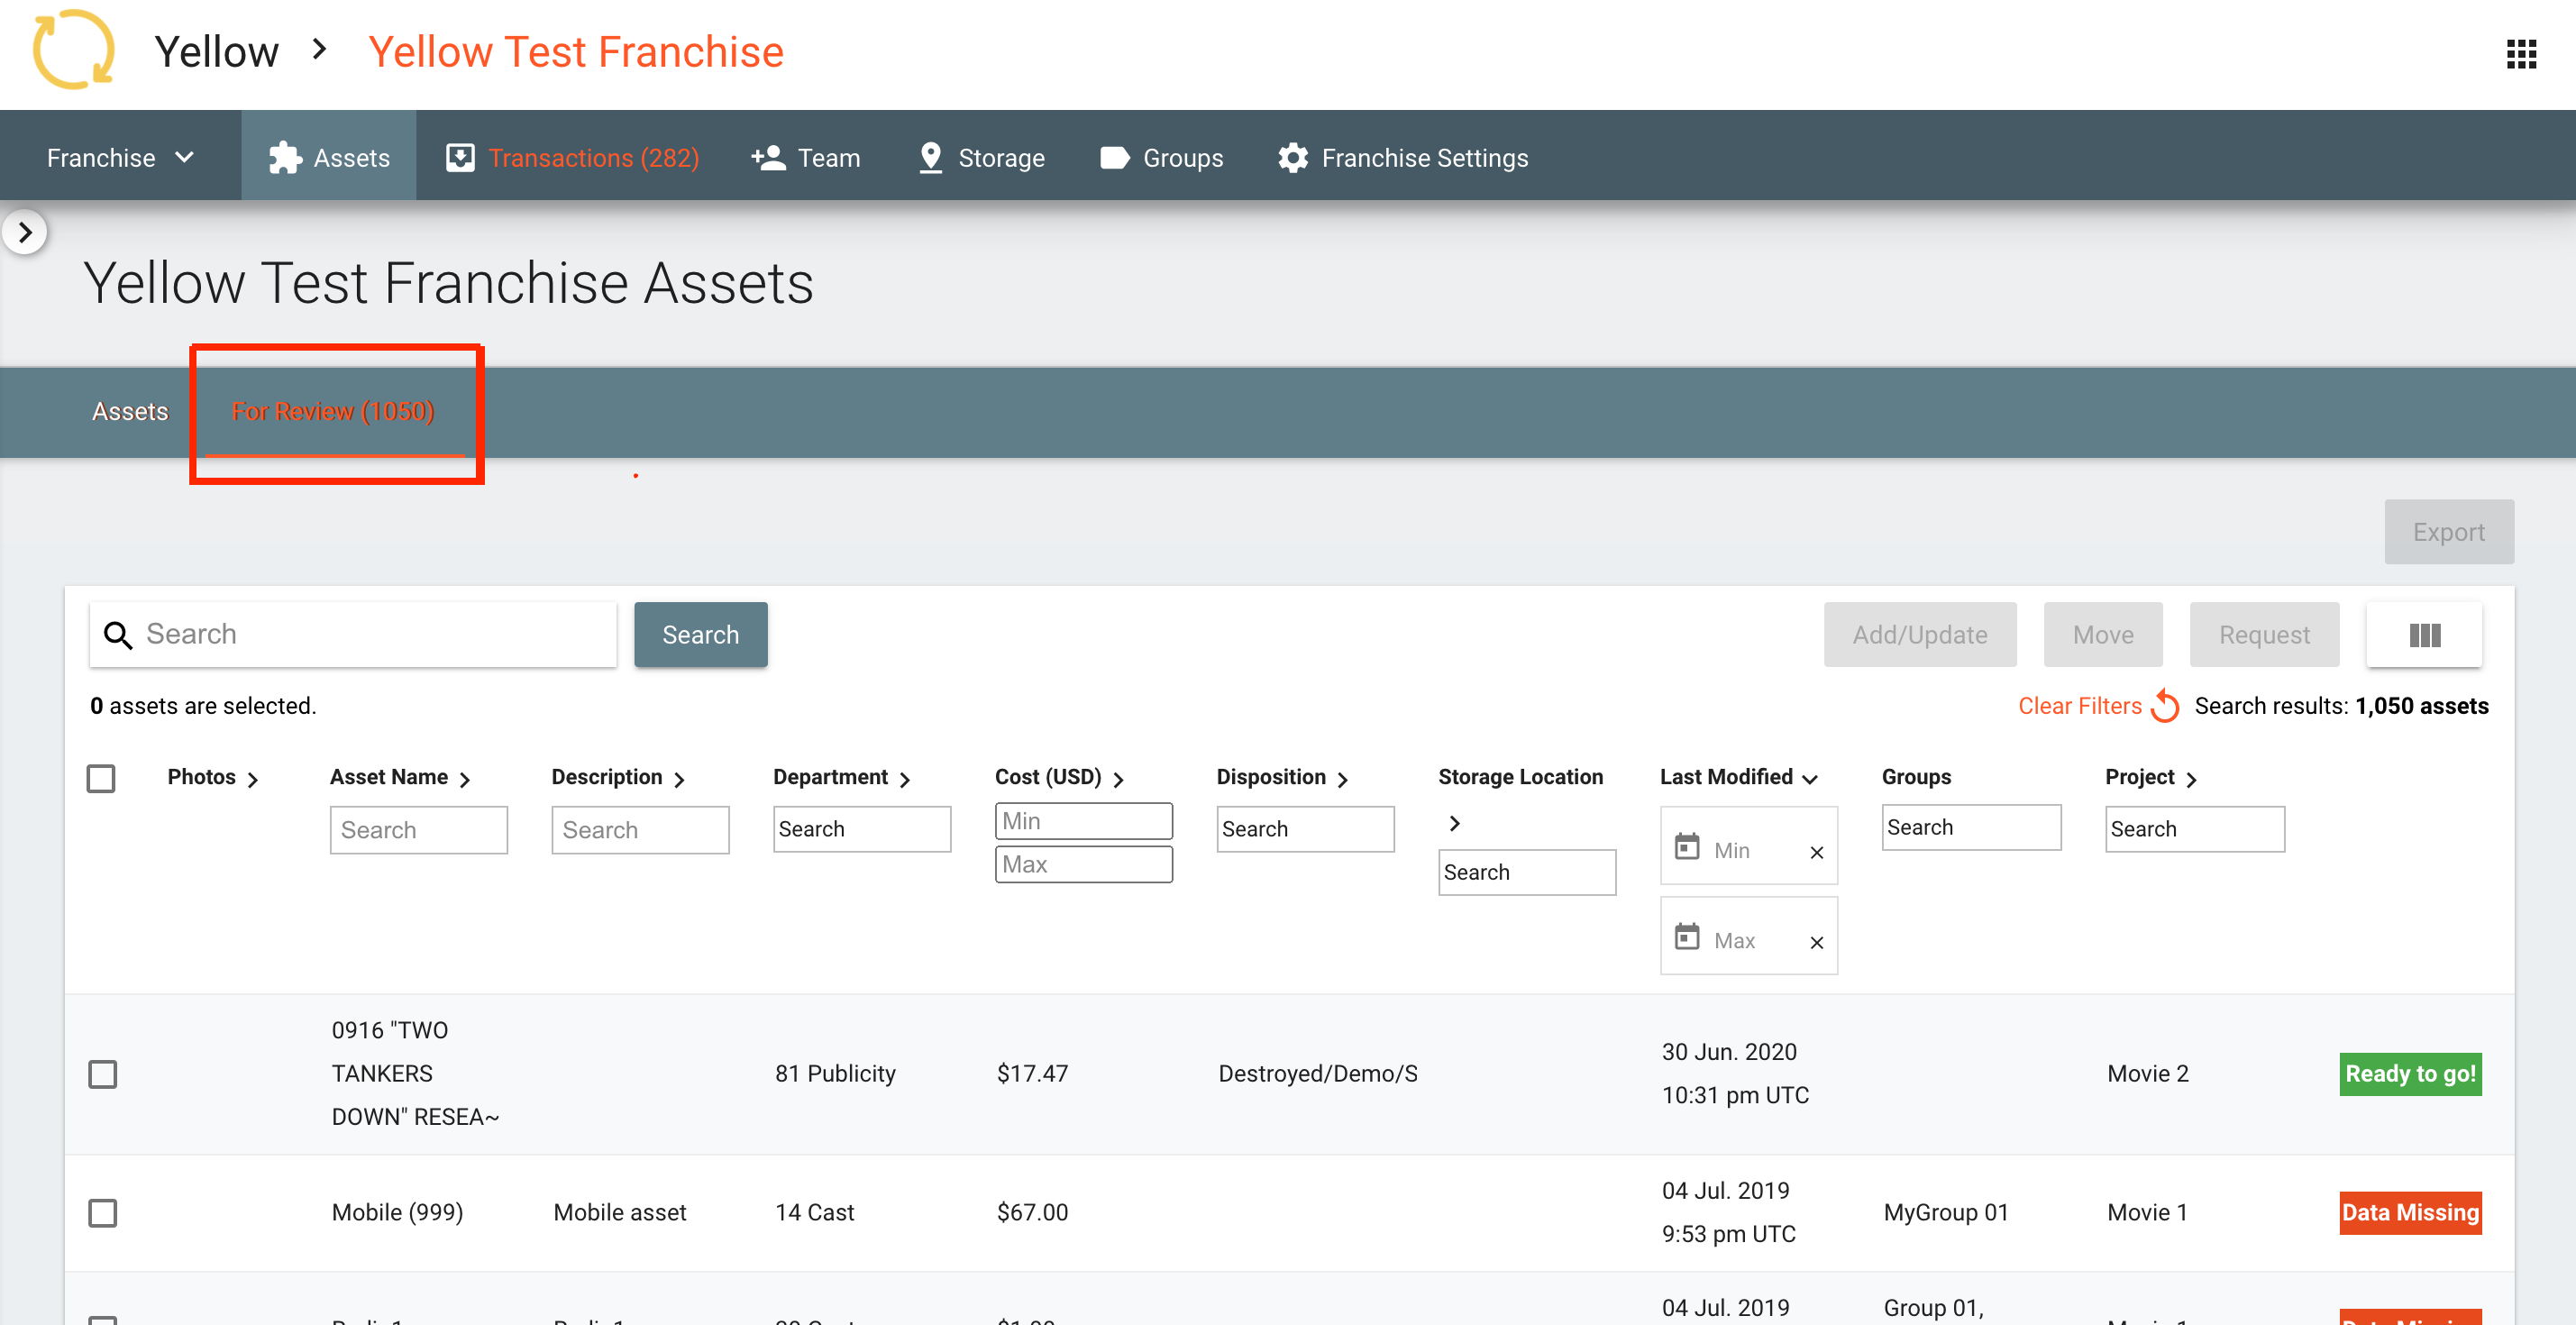
Once exported, navigate to AssetHub and find the For Review tab on the secondary navigation bar on the Assets Index. There will be a counter of how many Assets are For Review next to the header.
Pro Tip: If you use the same email address to access both the SyncOnSet production and the AssetHub Project, use theProduct Switcheron the top left of SyncOnSet to open a new tab directly to your Project!
Matching a Transaction to SyncOnSet Inventory
While logged in to your Series/Feature, click Transactions on the top navigation bar.
Click anywhere in the line of the Transaction you'd like to match to an existing SyncOnSet Inventory item (must be in Costume, Set Dec, or Props).
Click Match - SyncOnSet Inventory.
On the next page, use the search bar and filter options to find the Inventory item you would like to match to your Transaction.
When you find the Inventory item(s) you are looking for, check the box(es) on the left.
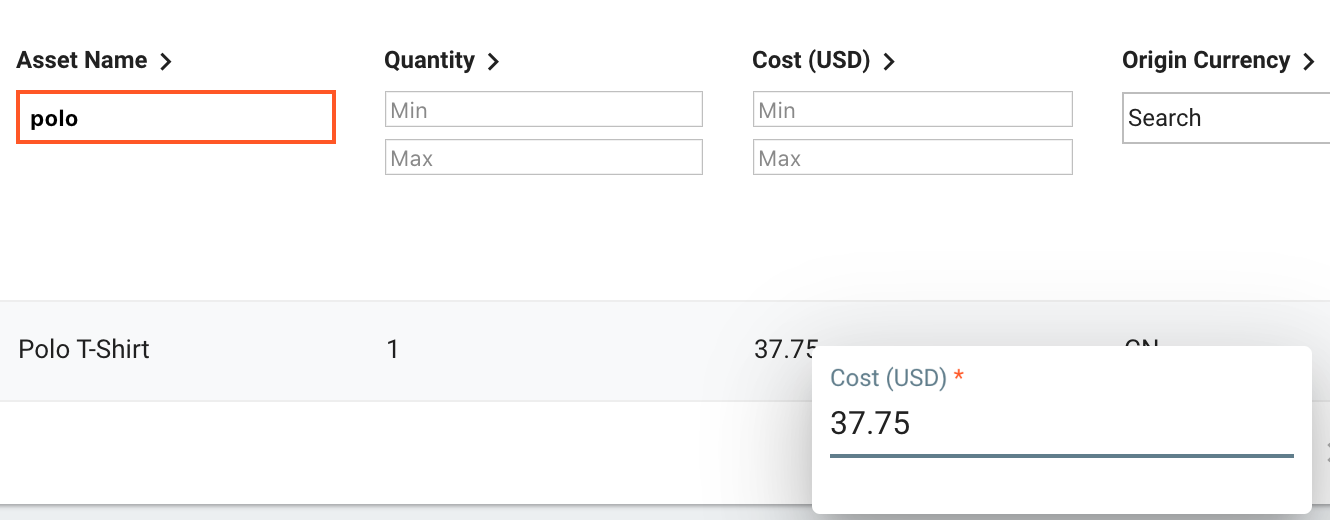
Choose how you want to assign the Cost (USD) value:
By default, the Cost (USD) value automatically updates to the sum of all Transactions linked to the Asset.
Check the box next to Keep Total shown in Cost (USD) to override the default and use the value displayed in that field.To manually update the Cost (USD) value, hold down shift on your keyboard and click the Cost (USD) field for the Inventory item you are matching to your Transaction. Press Return to save the value. This will allow you to update the cost displayed to reflect the total cost of the Transaction.
Pro Tip:If the cost of the Inventory does not match the Transaction total, the difference will be listed at the top of the page.
When you are satisfied with the match, click Match.
In the pop-up, choose information from the Asset and the Transaction to keep as the primary information for the final Asset.
A green notification will appear at the bottom of the screen to confirm your match and you will be redirected to the Transactions Index. If all required fields are complete, the Asset will move to the Assets Index. If not, you will need to update the Asset information on the For Review tab and accept the Asset.
Accepting SyncOnSet Inventory as Assets
From the For Review tab, click anywhere in the line of an item. A window will appear and you can add any required or additional information. When you're done, click Save.
Note:Required fields are marked with an asterisk (*).
Checkmark Inventory items that say Ready to go!
Click Add/Update > Accept Assets.
A green notification will appear at the bottom of your screen to confirm that your Assets have been created.
 Updated
by Jennifer Sneider
Updated
by Jennifer Sneider
 Pro Tip: Use the Choose Columns button to surface the Exported to AH field to see which Inventory has been exported.