Table of Contents
Managing Groups
 Updated
by Jennifer Sneider
Updated
by Jennifer Sneider
All users can access this feature.
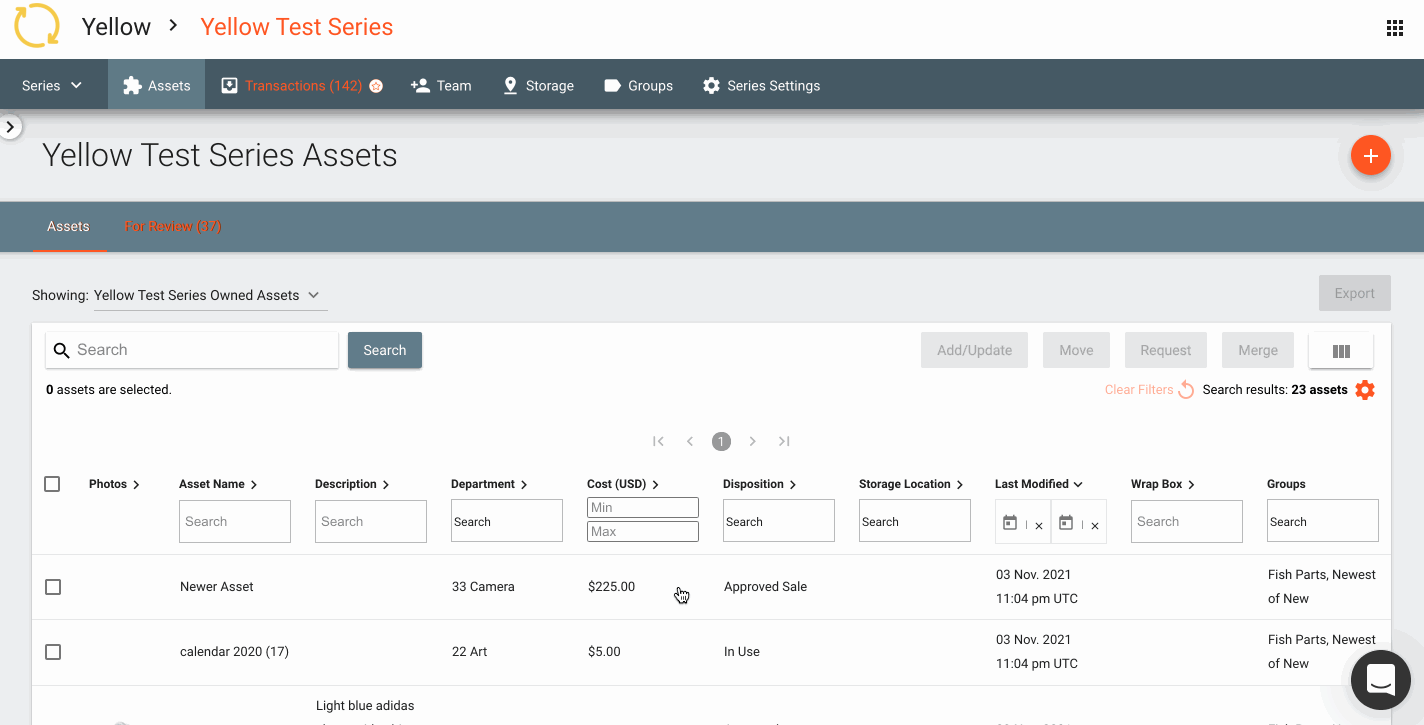
Adding Assets to Groups is similar to tagging and provides a useful way to organize Assets that are affiliated with one another. An example could be a category of Assets that belong together, like all the pieces of a superhero costume or all the Assets that make up a specific Set. You can choose a Standard type Group or a Change type Group. You can also create Subgroups/Changes within the Group to further organize your Assets.
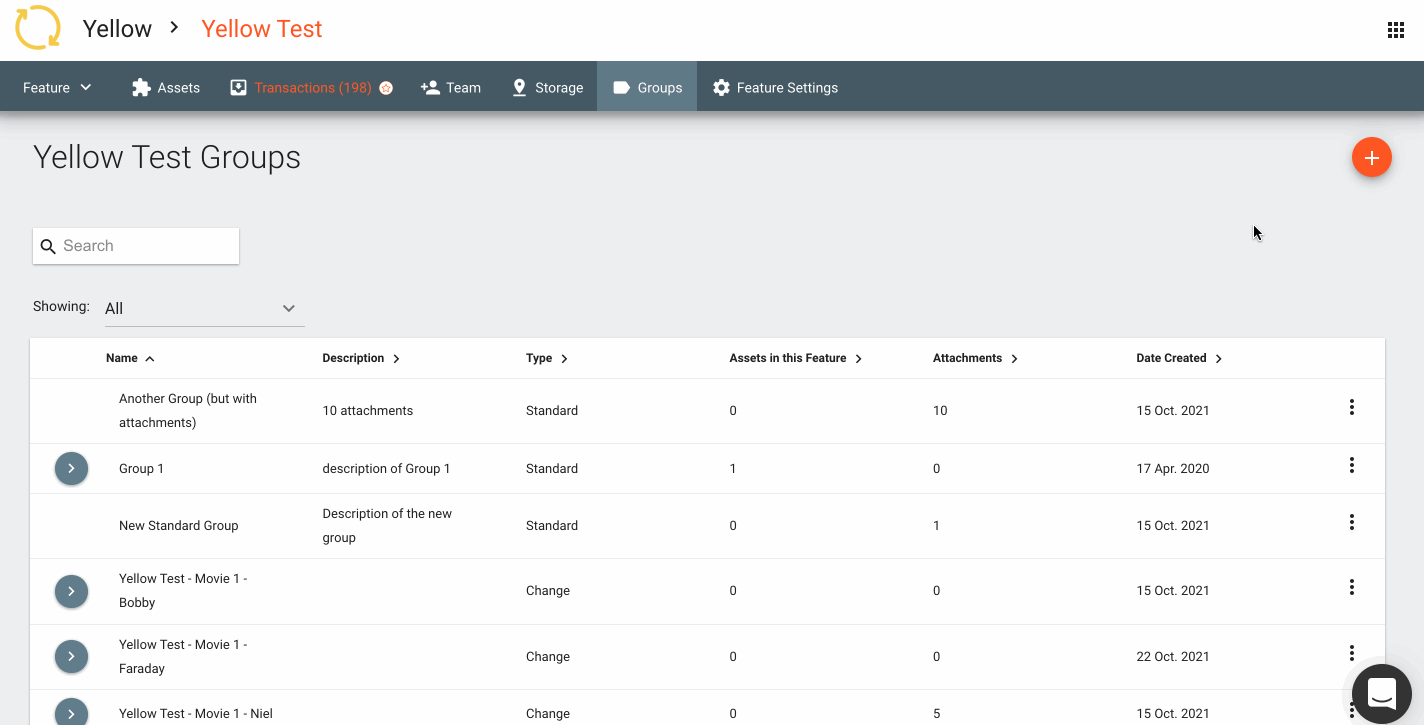
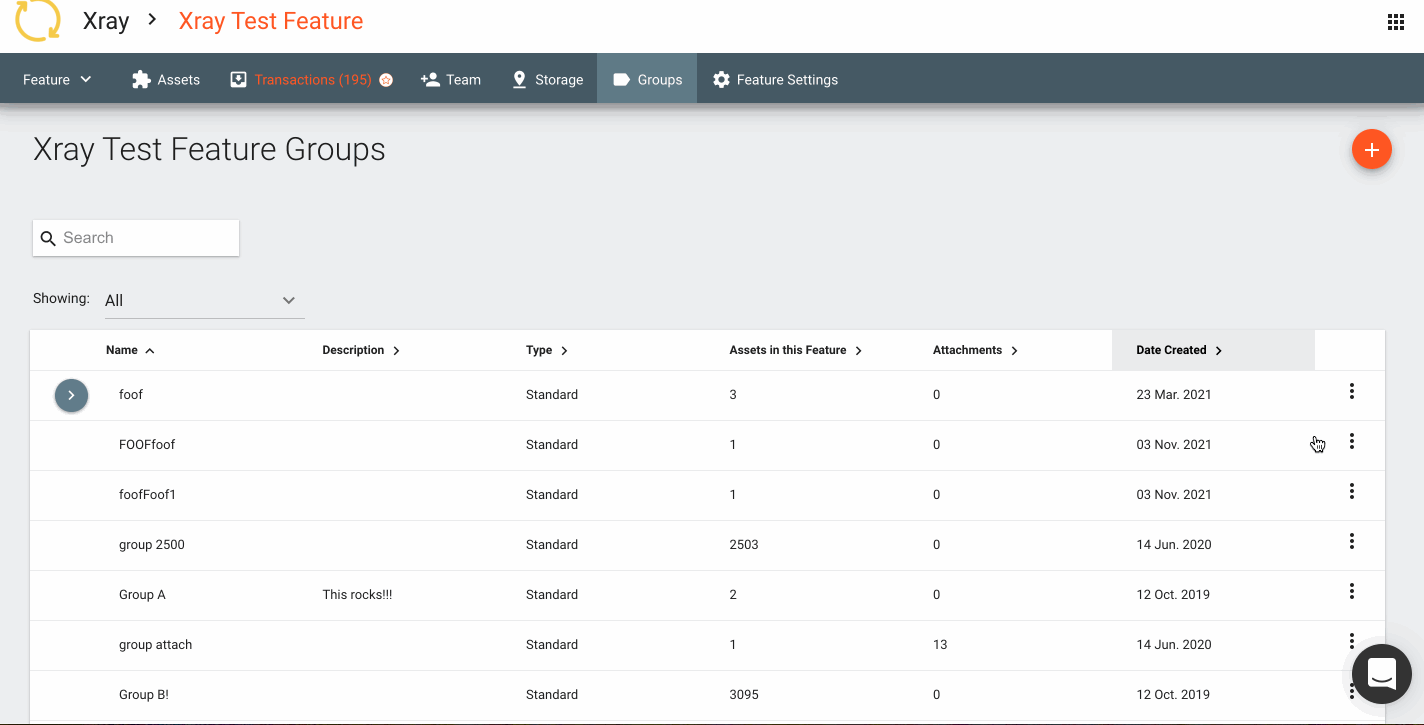
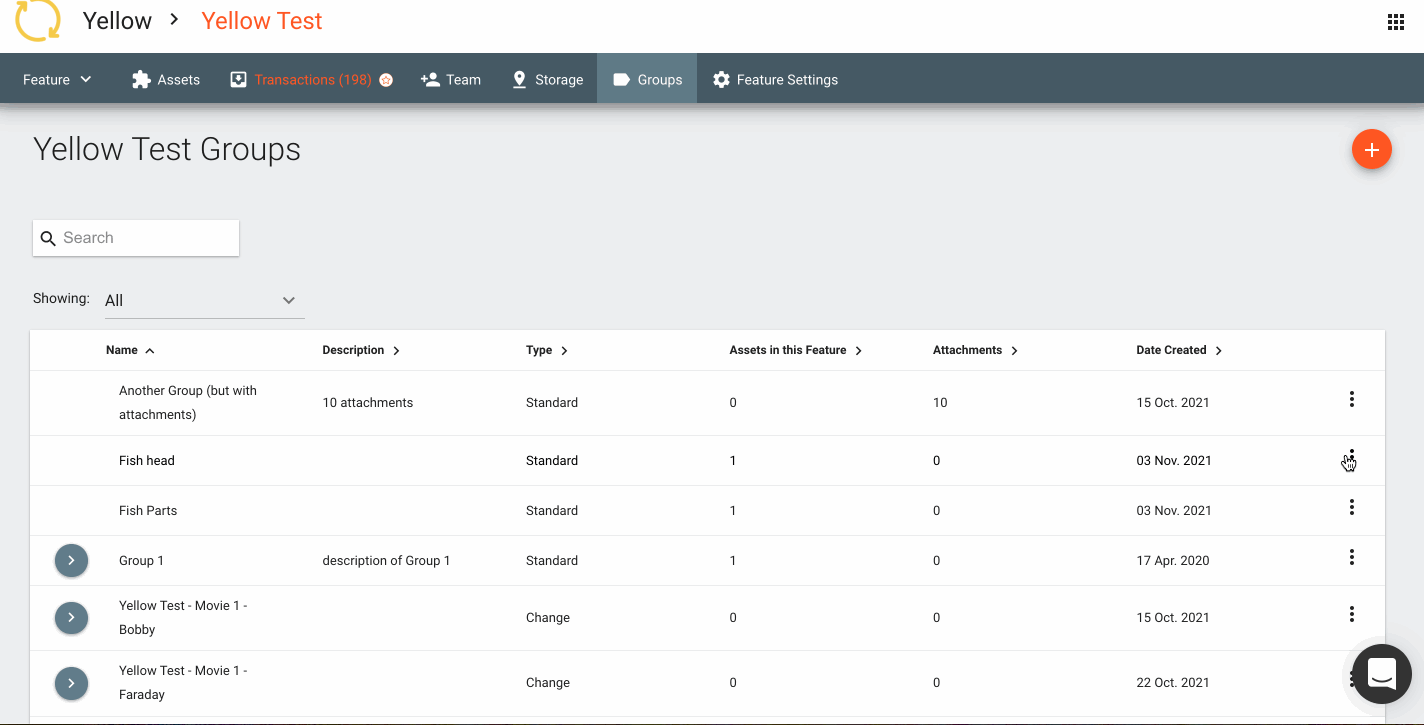
Group Index
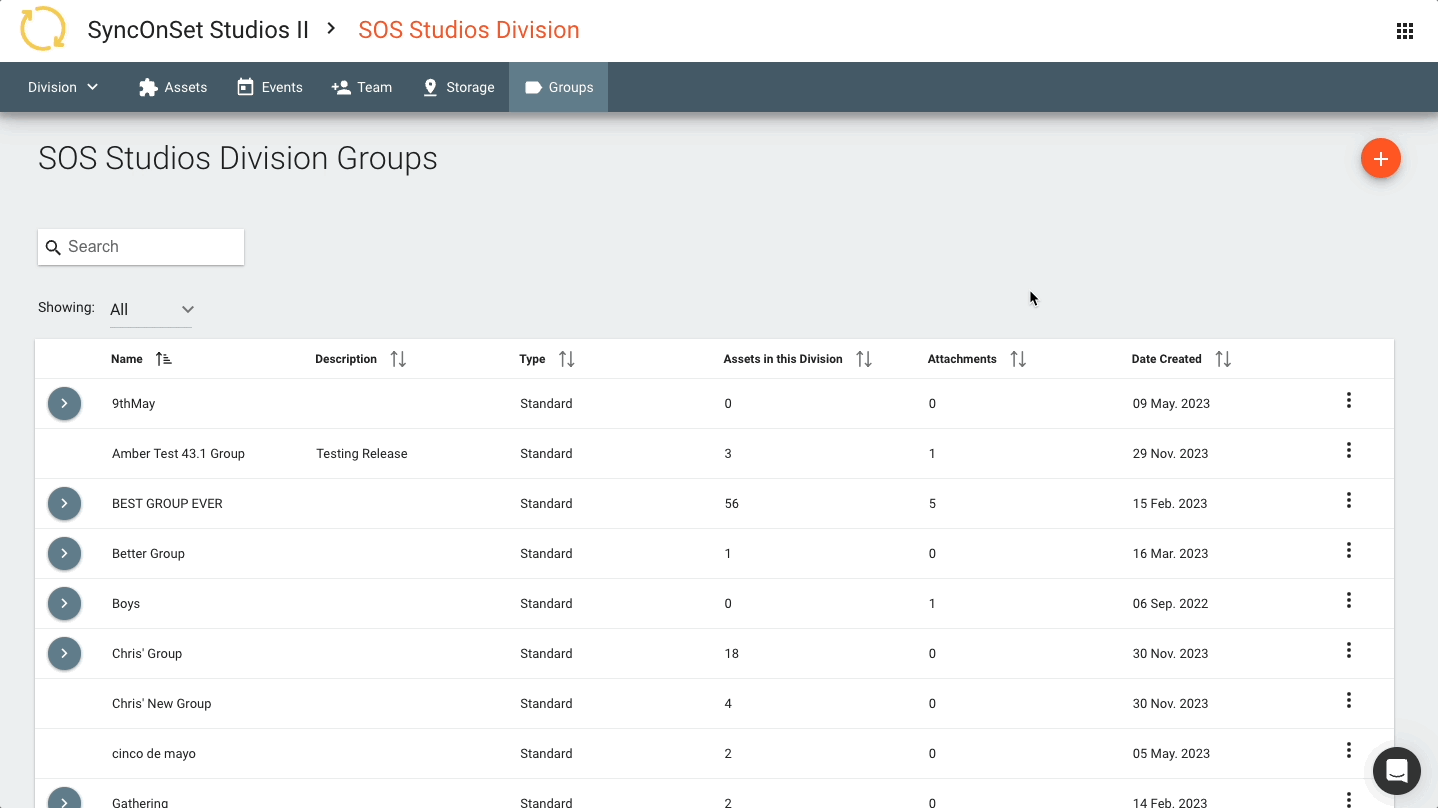
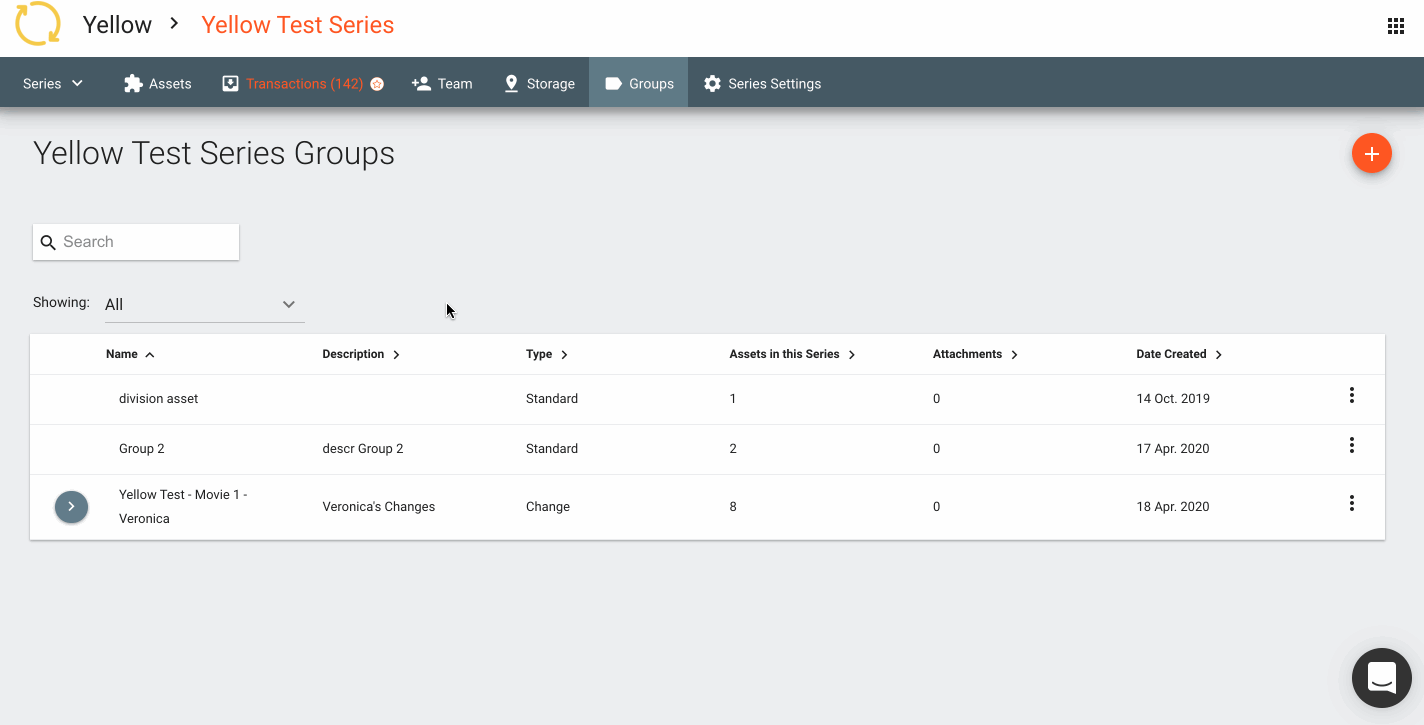
View the appropriate Group Index to manage all Groups in a Series/Feature/Division/Studio. Click the line of a Group to see all Assets in the Group.
All Assets tagged to the Group and/or a corresponding Subgroup/Change appear in the Group Asset Index. Only Assets tagged to the Subgroup/Change appear in the Subgroup Asset Index.
Creating Groups
- While logged in to a Series/Feature/Division, click Groups on the top navigation bar.
- Click the orange (+) button.
- Select your type from the dropdown.
- If selecting Standard, enter the name of the new Group (and the description, if you wish) and click Create.
- If selecting Change:
- Select the Project from the dropdown.
- Enter the Character name (and description, if you wish).
- Enter the Change name (and description, if you wish).
- To add multiple Changes to the Character, click the orange (+) then add the next Change name.
- Click Create.
Creating Subgroups/Changes
- While logged in to a Series/Feature/Division/Studio, click Groups on the top navigation bar.
- Click the Ellipsis in line with the Group where you want to create a Subgroup.
- Click Create Subgroup (for a Standard type) or Create Change (for a Change type).
- Enter the name of the new Subgroup/Change (and the description, if you wish) and click Create.
Deleting Groups and Subgroups
Deleting a Group only removes it from that particular Series, Feature, or Division. Studio Managers can use the Group Index at the Studio level to fully delete the Group.
- While logged in to a Series/Feature/Division, click Groups on the top navigation bar.
- Click the Ellipsis in line with the Group or Subgroup you would like to delete.
- Click Remove Group, Delete Subgroup or Delete Change (depending on the Group or Subgroup type).
- In the pop-up window, click Remove or Delete (depending if Group or Subgroup/Change).
Editing Groups and Subgroups
- While logged in to a Series/Feature/Division/Studio, click Groups on the top navigation bar.
- Click the Ellipsis in line with the Group or Subgroup you would like to edit.
- For Groups, click Edit Group.
- Click the Type dropdown if you want to change the Group type.
- Make your desired edits and click Save.
- For Subgroups, click Edit Subgroup or Edit Change depending on your selection.
- Click the Group dropdown if you want to move the Subgroup to a different Group.
- Make your desired edits and click Save.
- For Groups, click Edit Group.

Converting Groups and Subgroups
You can convert Groups to Subgroups and Subgroups to Groups.
- While logged in to a Series/Feature/Division/Studio, click Groups on the top navigation bar.
- Click the Ellipsis in line with the Group or Subgroup you would like to convert.
- For Groups, click Convert to Subgroup.
- Select an existing Group from the dropdown.
- Make any desired edits and click Save.
- For Subgroups, click Convert to Group.
- Make any desired edits and click Save.
- For Groups, click Convert to Subgroup.
Bulk Adding Assets to an Event from the Group Index
All Assets within a Group/Subgroup can be added to an Event from the Group Index. This feature can only be accessed at the Division level.
- While logged in to a Division, click Groups on the top navigation bar.
- Click the Ellipsis in line with the Group or Subgroup you would like to add to an Event.
- Click Add To Event.
- Select the desired Event from the dropdown.
- Click Save to confirm.
Group Asset Index
Navigating to the Group Asset Index
- While logged in to a Series/Feature/Division/Studio, click Groups on the top navigation bar.
- Click the line of the Group to go to the Group Asset Index.
Navigating to the Subgroup/Change Asset Index
- While logged in to a Series/Feature/Division/Studio, click Groups on the top navigation bar.
- Click the Caret in line with the parent Group.
- Click the line of the Subgroup/Change to go to the Subgroup Asset Index.
Bulk Removing Assets from a Group
If your Assets are tagged to the Group and a Subgroup/Change belonging to the Group, this removes them from the Group and they remain in the Subgroup/Change. They will still appear on the Group Asset Index unless you filter the Group column to only show the parent Group.
- While logged in to a Series/Feature/Division, click Groups on the top navigation bar.
- Click the line of the Group you want to remove from Assets.
- Click the checkbox in line with each Asset you want to remove from the Group or Subgroup.
- Click Add/Update, then Remove.
- Click Confirm in the pop-up.

Bulk Removing Assets from a Subgroup/Change
If your Assets are only tagged to the Subgroup/Change and not the parent Group, they will no longer appear on the Group Asset Index.
- While logged in to a Series/Feature/Division, click Groups on the top navigation bar.
- Click the line of the Subgroup/Change you want to remove from Assets.
- Click the checkbox in line with each Asset you want to remove from the Subgroup/Change.
- Click Add/Update, then Remove.
- Click Confirm in the pop-up.

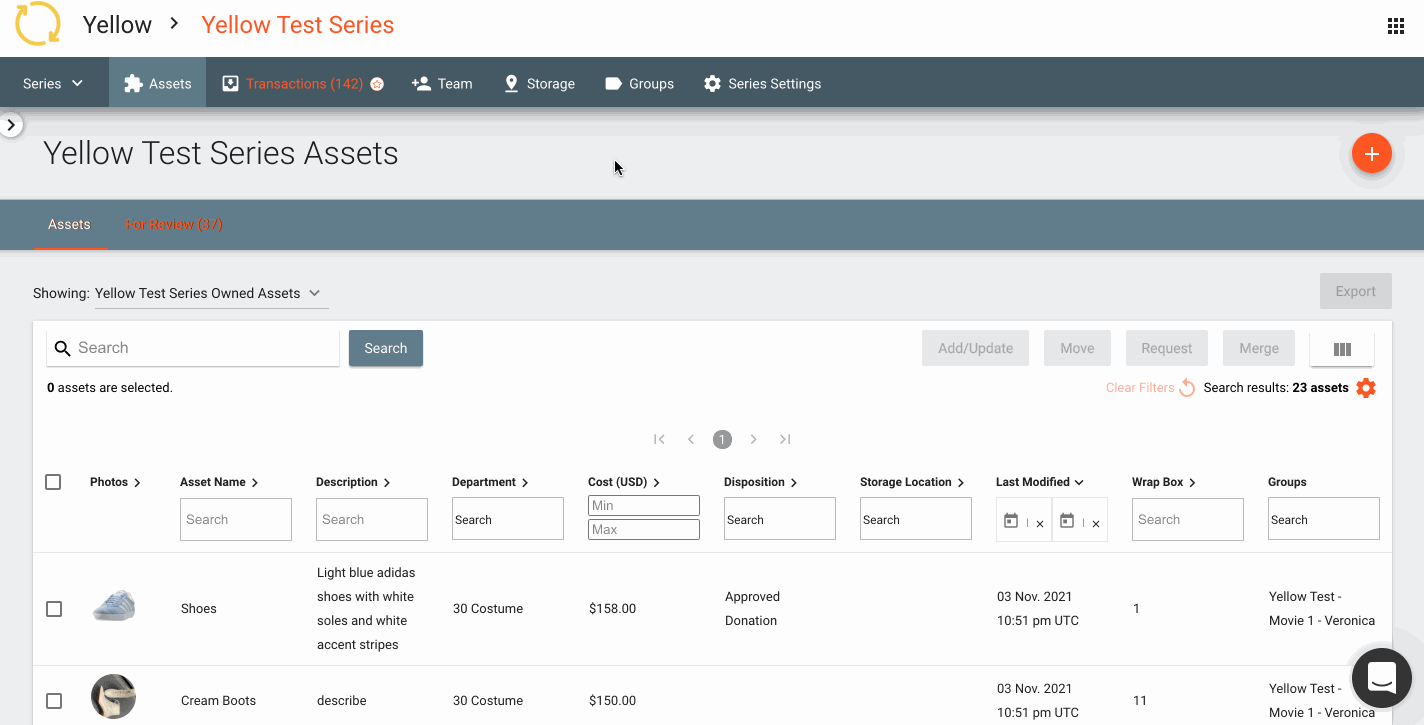
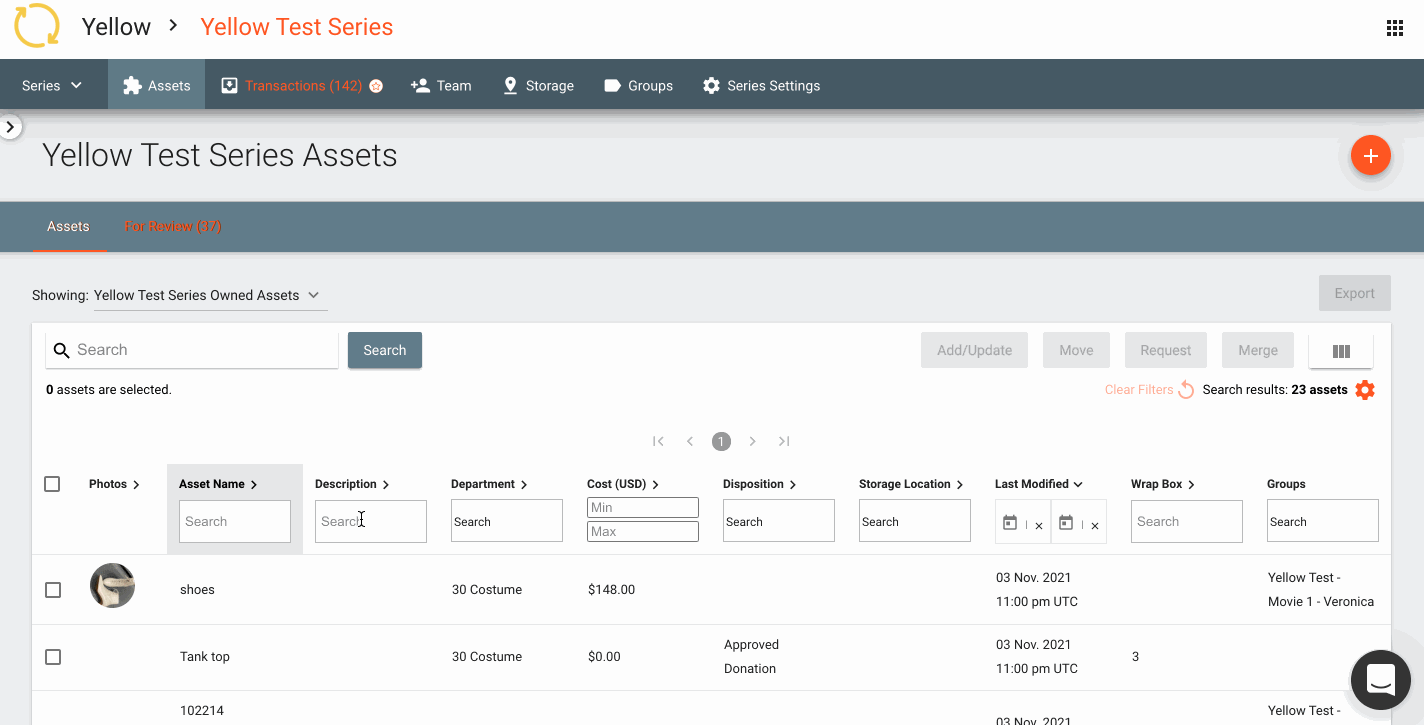
Asset Index
Adding Assets to a New Group
- While logged in to a Series/Feature/Division, click Assets on the top navigation bar.
- Click the checkbox in line with each Asset you want to put in the Group.
- Click Add/Update, then Add Groups.
- In the pop-up window, enter the name of the new Group and press the Enter/Return key on your keyboard.
- After you press Enter/Return, the Group will be created and the Save button will illuminate. Click Save.
- A green notification appears at the bottom of your screen confirming your Assets have been added to the Group.
Adding Assets to Existing Groups, Subgroups, and Changes
- Follow Steps 1-3 above.
- In the pop-up window, select the Group(s), Subgroup(s) and/or Changes you would like to add to your Assets.
- Click Save.
- A green notification appears at the bottom of your screen confirming the Assets have been added to the Group(s).

Removing Individual Assets from a Group, Subgroup, or Change
- While logged in to a Series/Feature/Division, click Assets on the top navigation bar.
- Click anywhere on the line of the Asset you want to remove from a Group, Subgroup, or Change.
- Click the Pencil icon in the top right corner.
- Under Groups, click the X in line with the Group, Subgroup, and/or Change you want to remove from the Asset.
- Click Save.